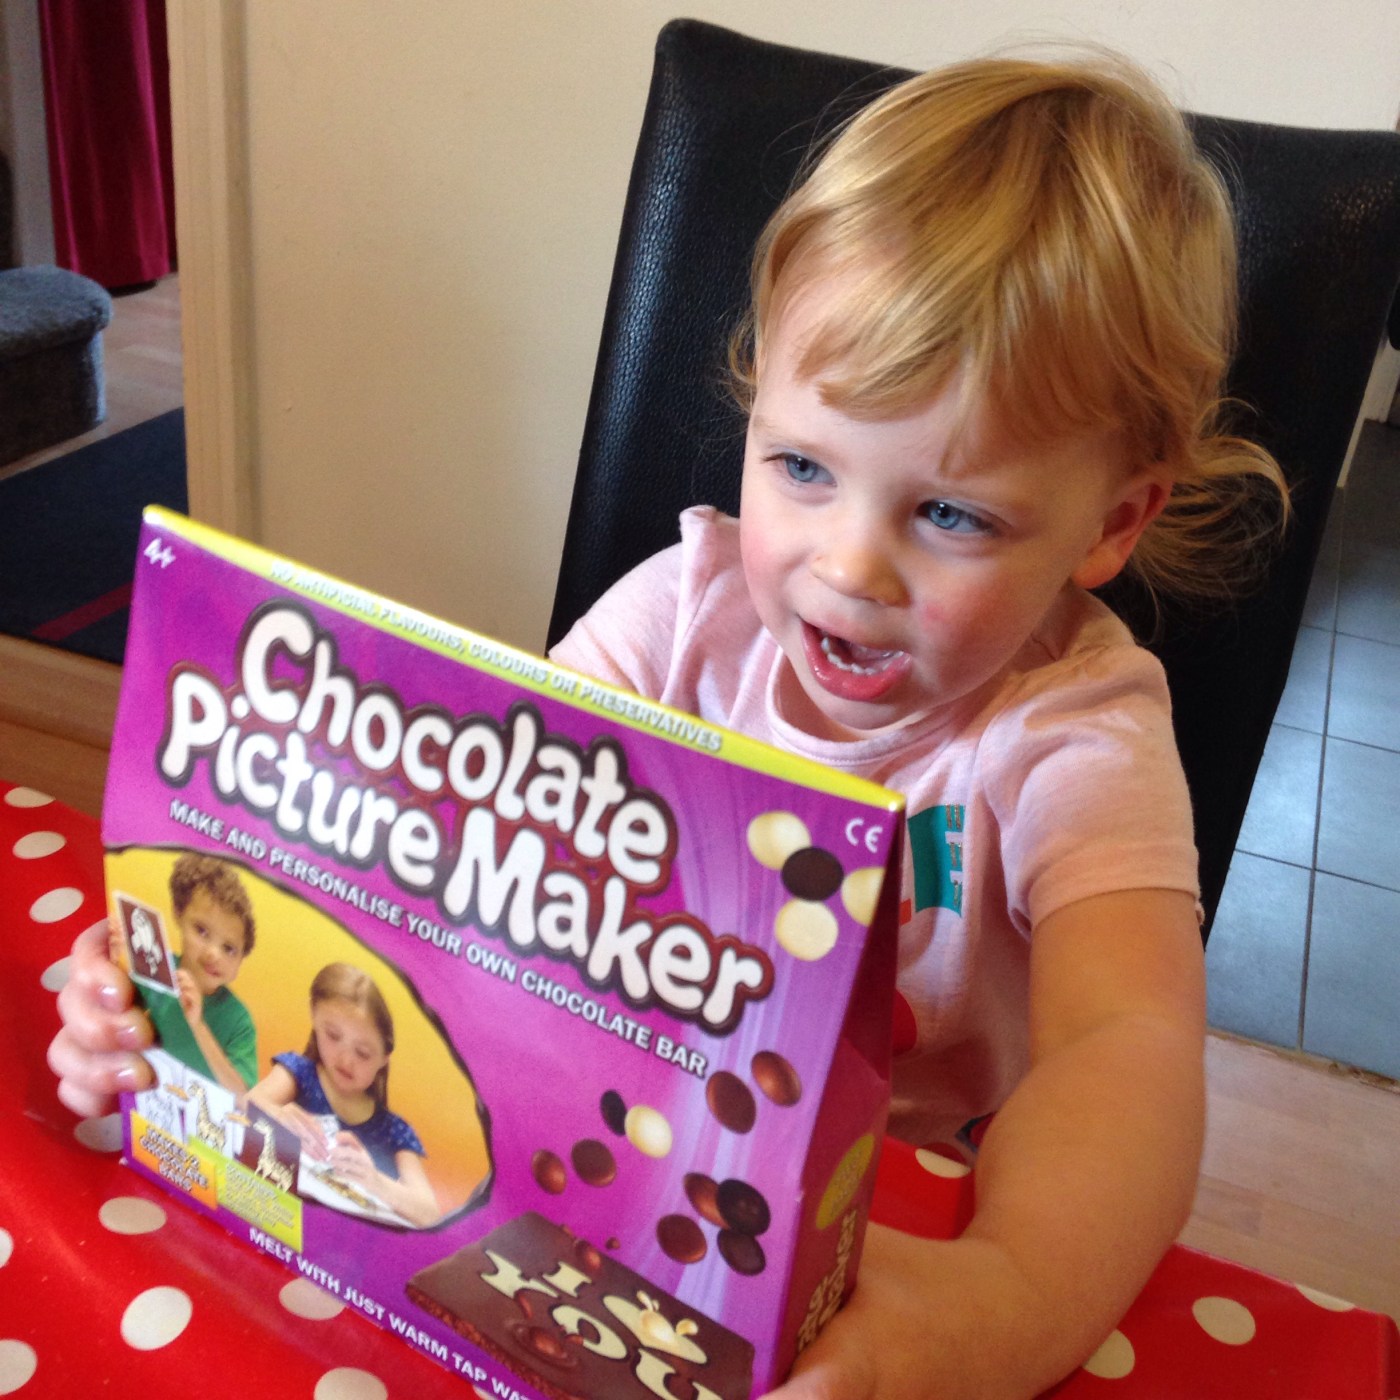
Dear Mummy, you know how much I love chocolate, so imagine my delight when a chocolate kids activity came through the door for us to test!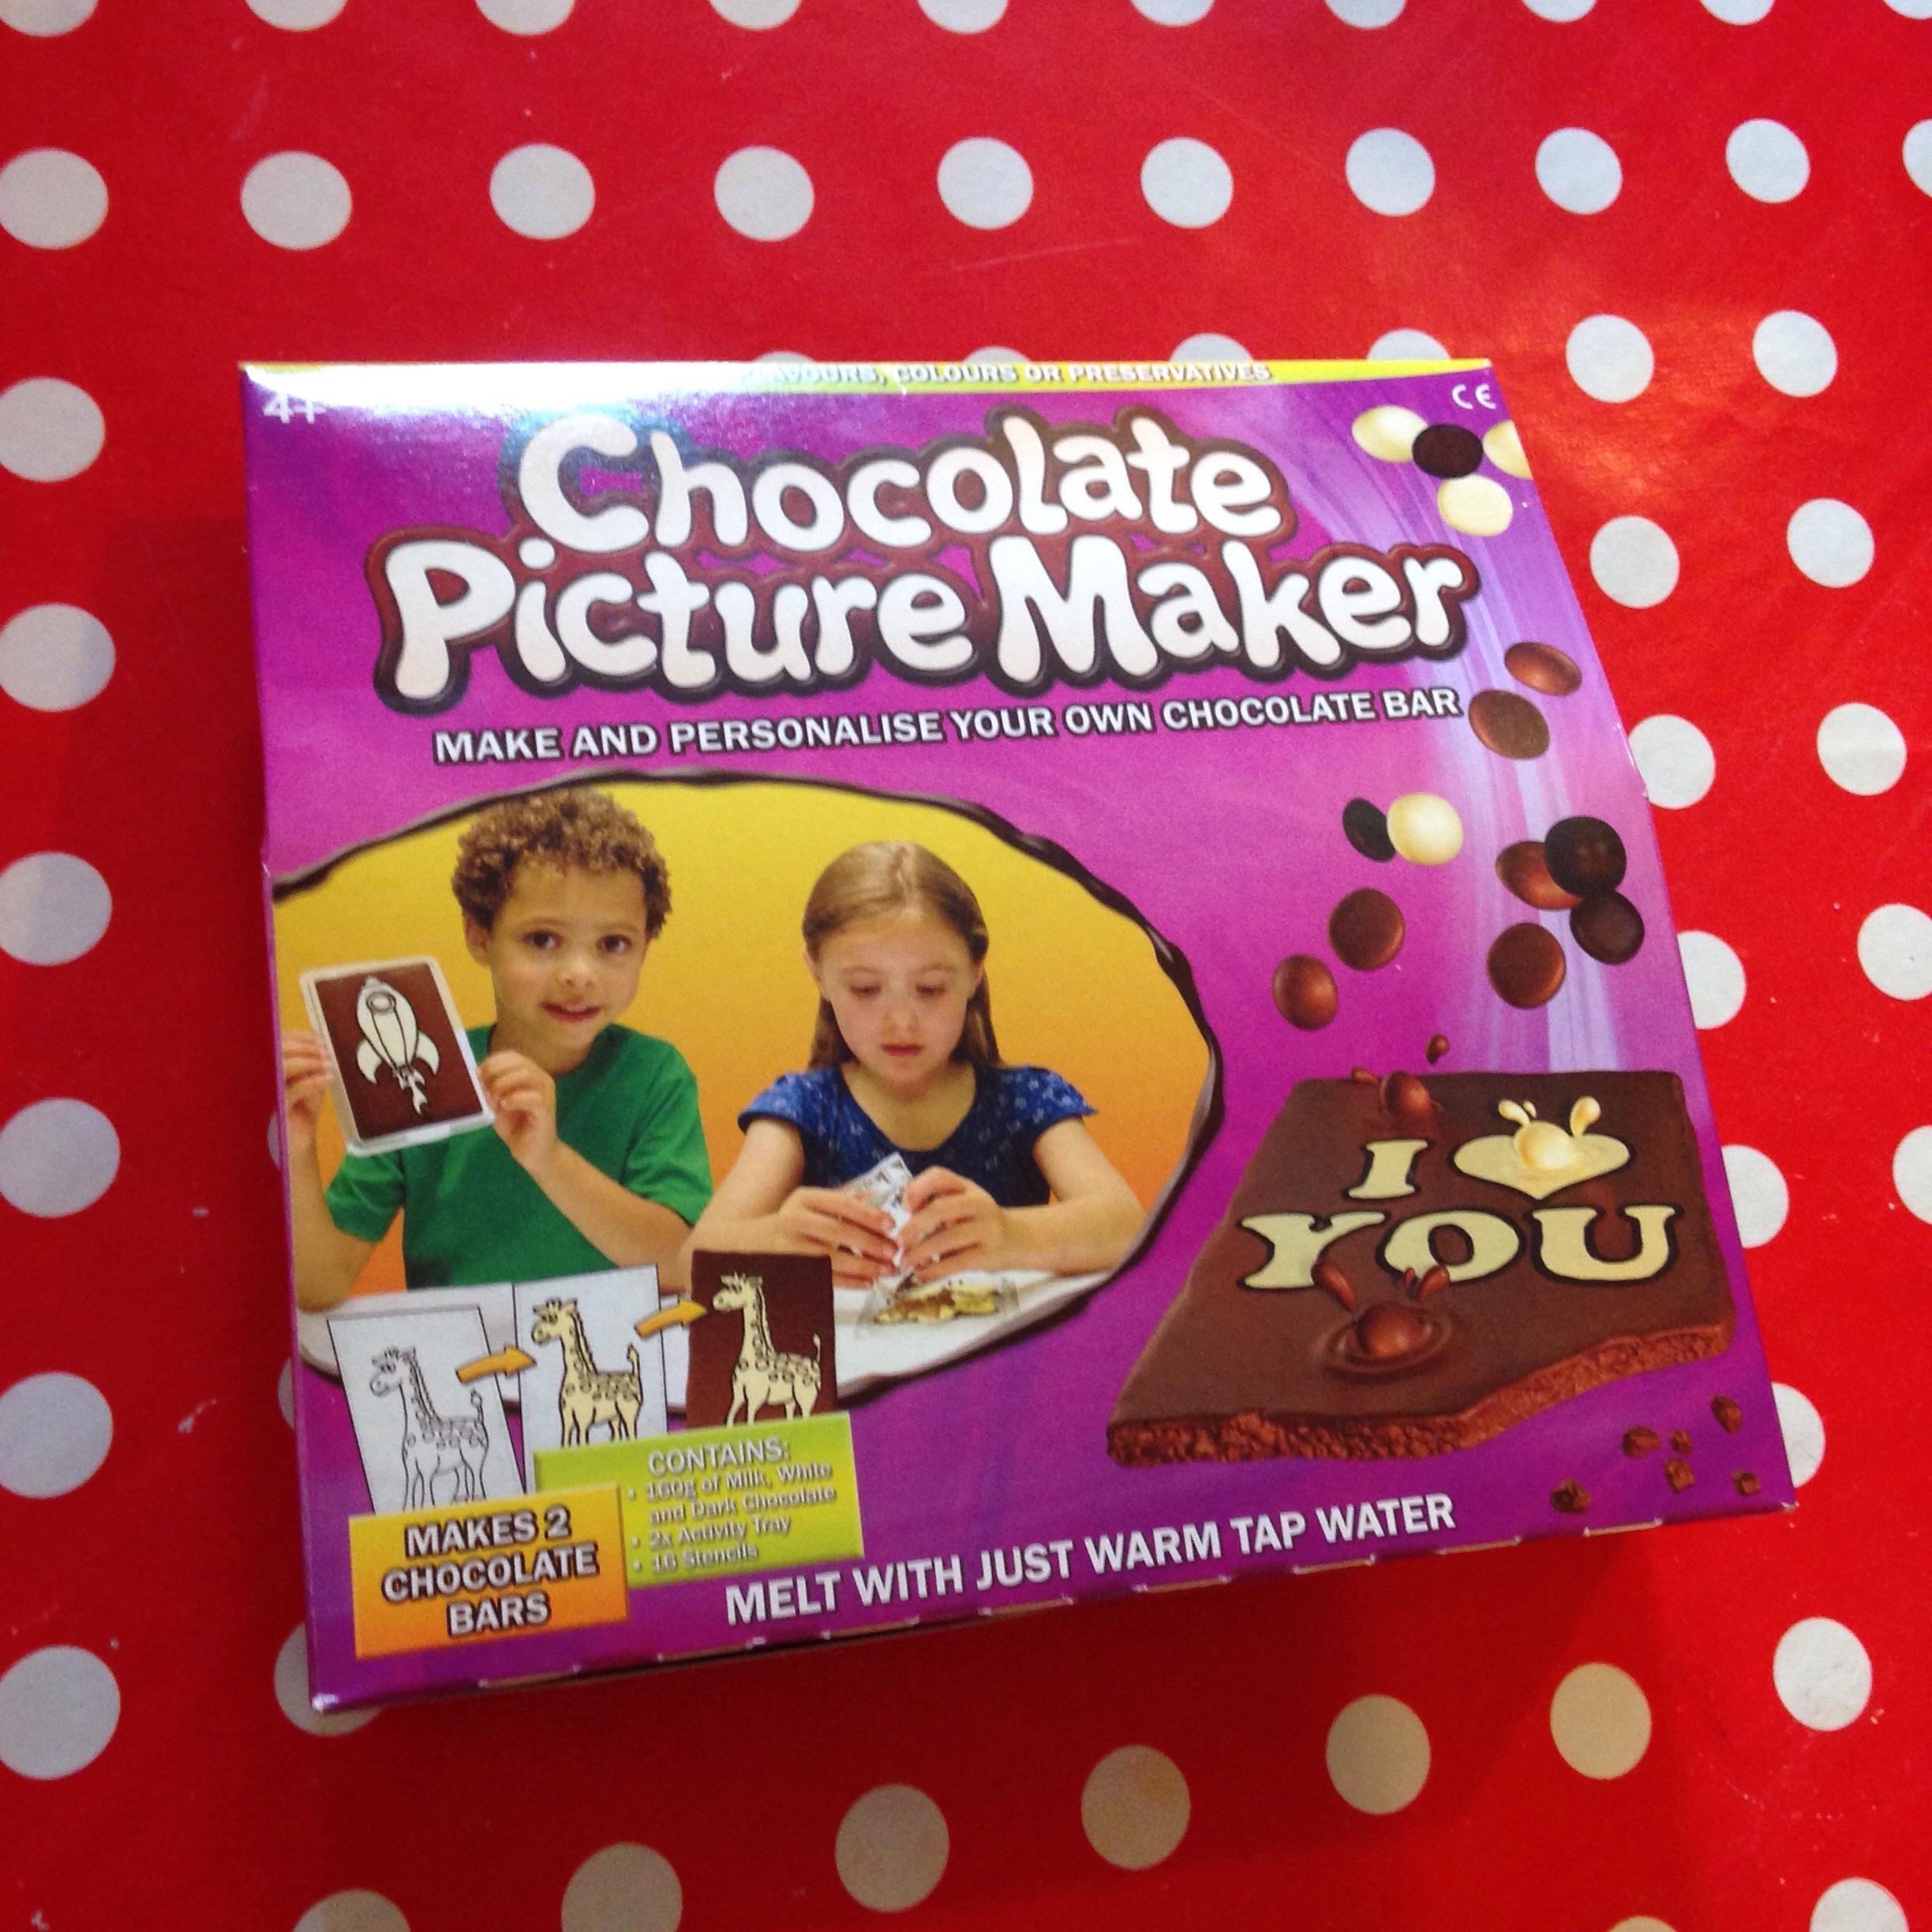 It’s a Chocolate Picture Maker from Zimpli Kids which allows anyone to create their own personalised 100% Belgian chocolate bar! Woweeee. It sounds cool and really innovative.
 It comes packaged in a colourful purple box with a handy instruction booklet which includes a step by step picture guide. Also inside the box are foil sachets of chocolate drops for you to melt. 2 x dark chocolate, 2 x white chocolate and 2 x large sachets of milk chocolate ones.
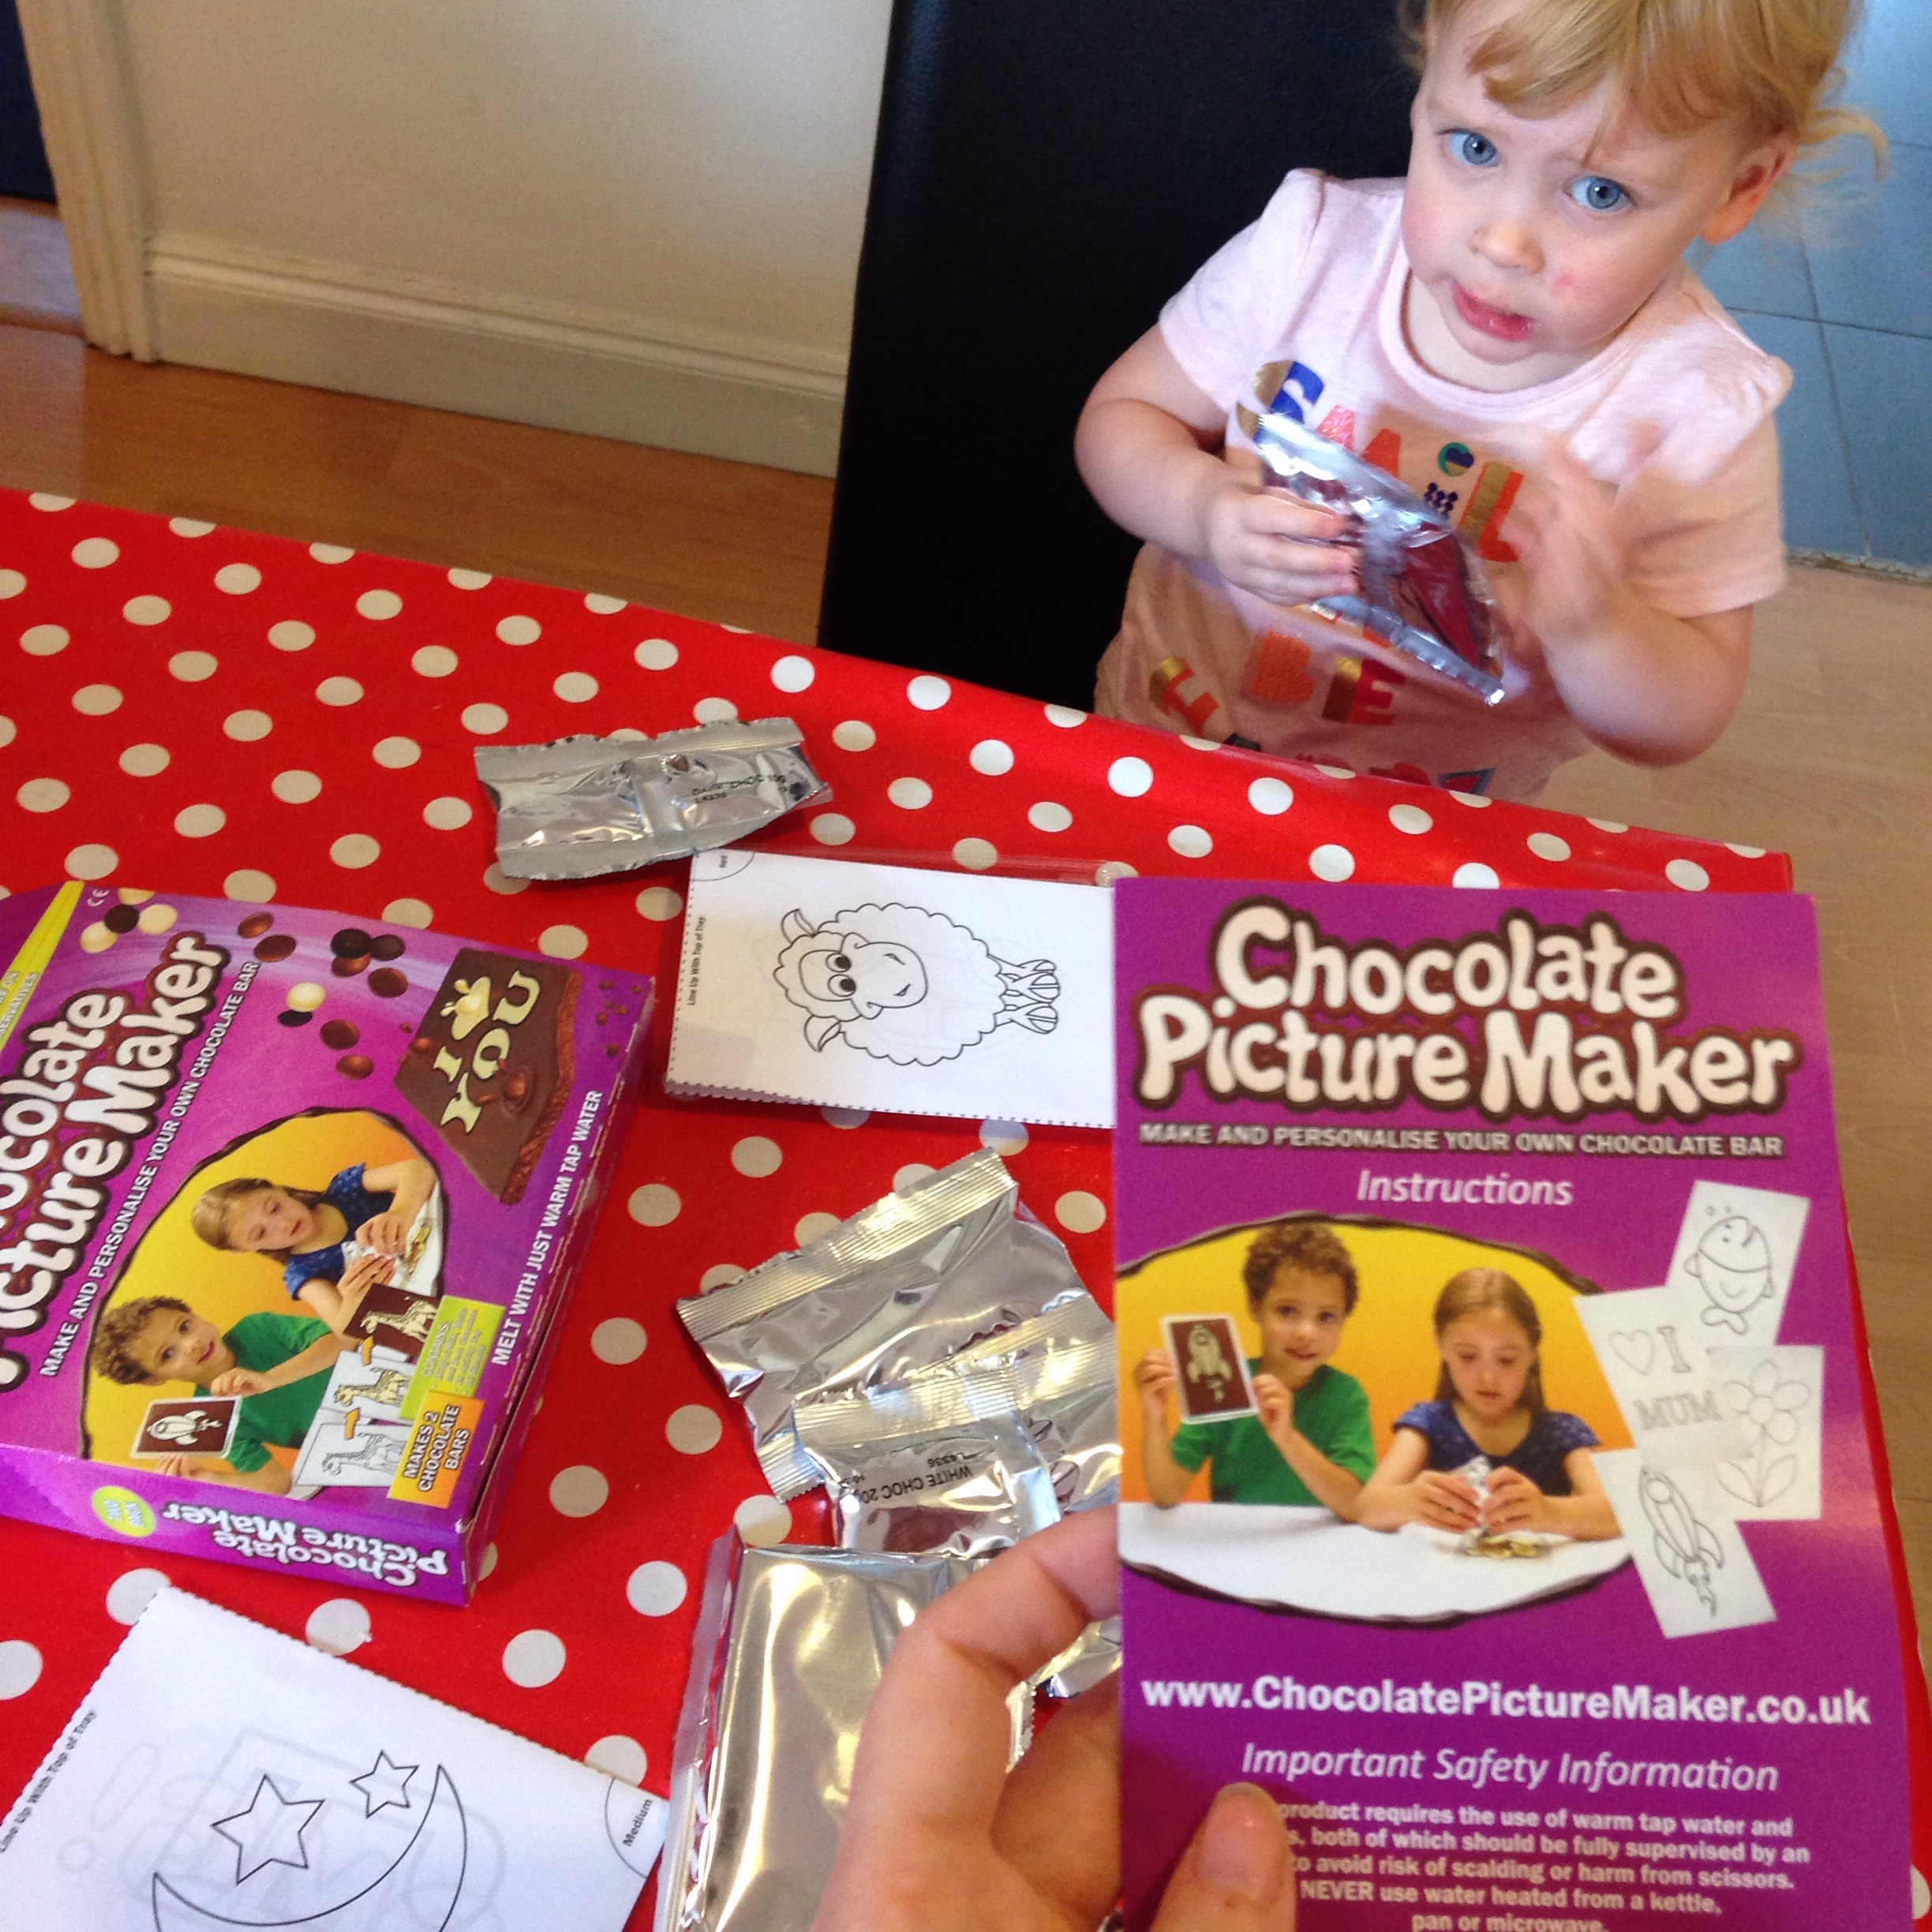 It’s enough chocolate to make two large chocolate slabs. There are plenty of stencils included in the box and you can download them off their website too if needed. Also included is a clear plastic tray for the chocolate bar to set in. You can buy the Chocolate Picture Maker kit from Amazon at around £5 which is a real bargain considering you get two bars of chocolate. It’s also available in larger packs at ASDA and ToysRus.
The only thing we needed to source was a large bowl, scissors (to pierce the foil sachets) and some hot tap water to melt the chocolate.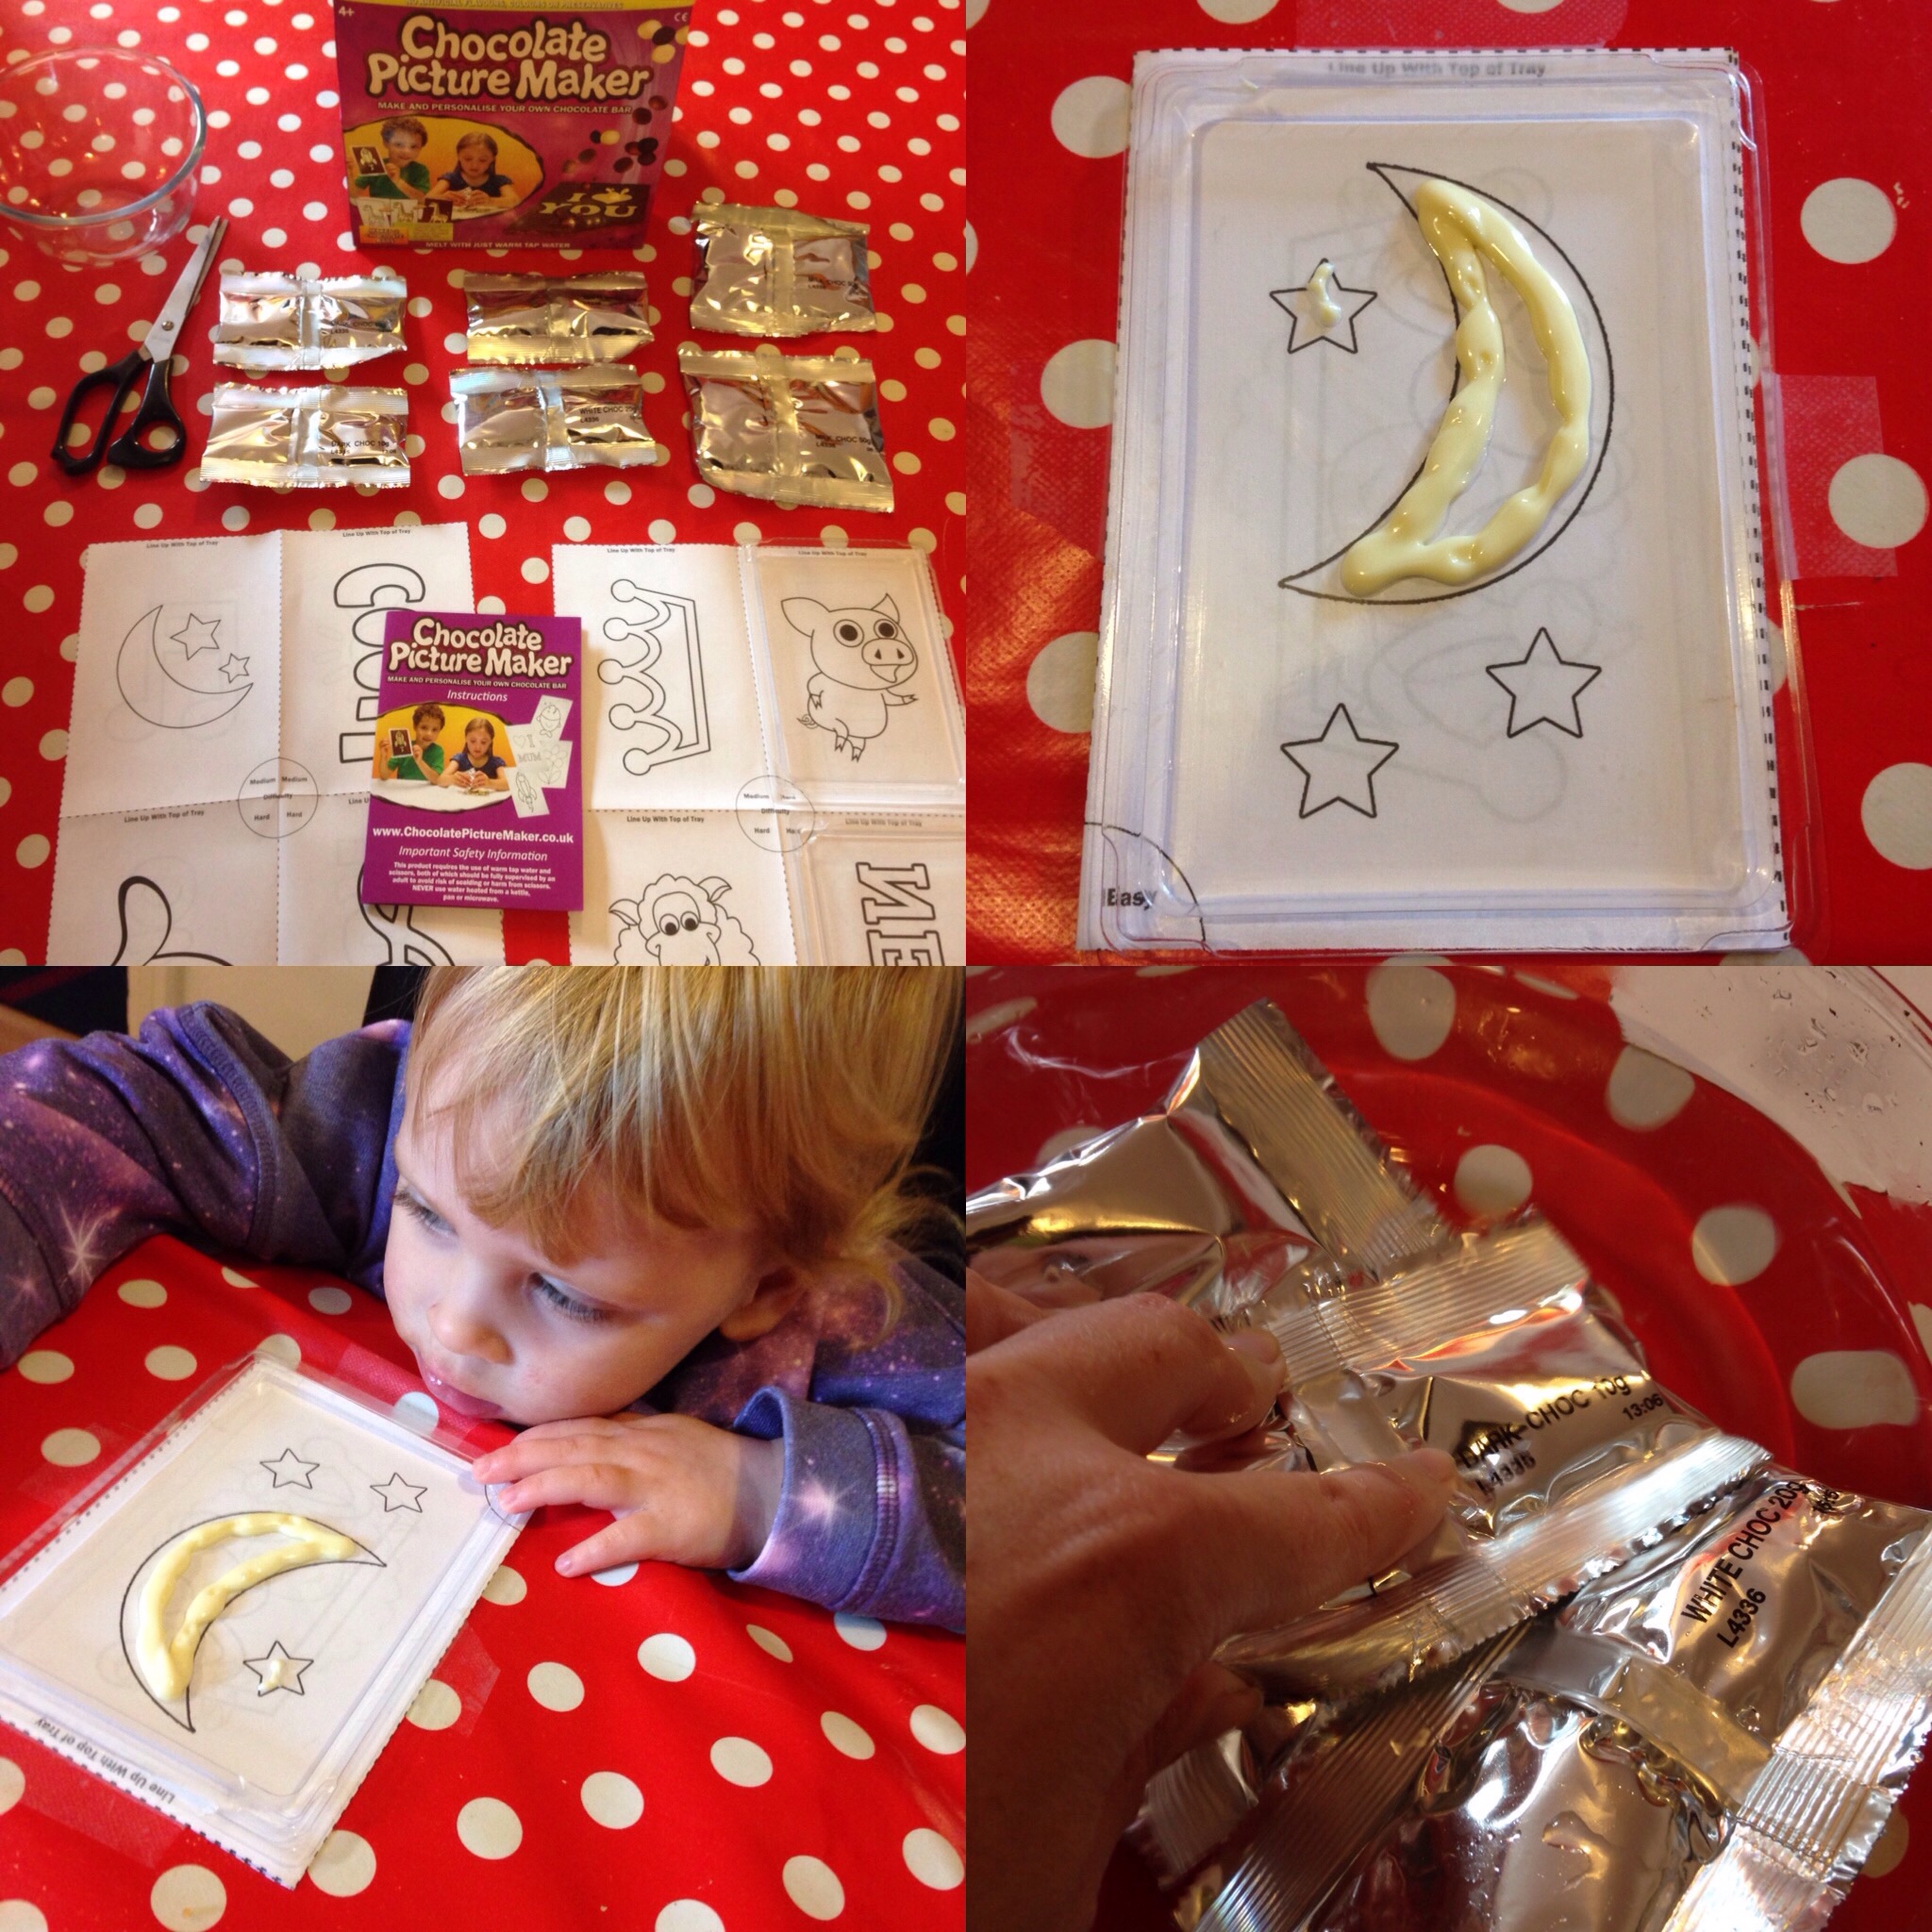 This is what we did made our personalised chocolate bar using the Chocolate Picture Maker.
Step 1. My mummy filled a large mixing bowl with warm water from our kitchen tap. It doesn’t need to be boiling water to melt the chocolate only warm. Plus its safer if you don’t use boiling water, especially if little ones are making it. I helped hold the foil sachet under the water until they melted and used my little fingers to massage any undissolved lumps to make it all liquid in the pouches.
Step 2. Once everything melted after 5 minutes, my mummy took out the dark chocolate one and snipped the corner of the silver foil sachet to create a small hole in which she pipped out the chocolate into the clear tray which had a stencil underneath it for us to copy the outlines. At first she found it hard as there was a lot of air in the foil pouch, but eventually the chocolate came whizzing out. A bit too fast at one point and it would be easy to make a mistake, but if you did you could wipe it with you finger and lick it. That’s the beauty of working with chocolate!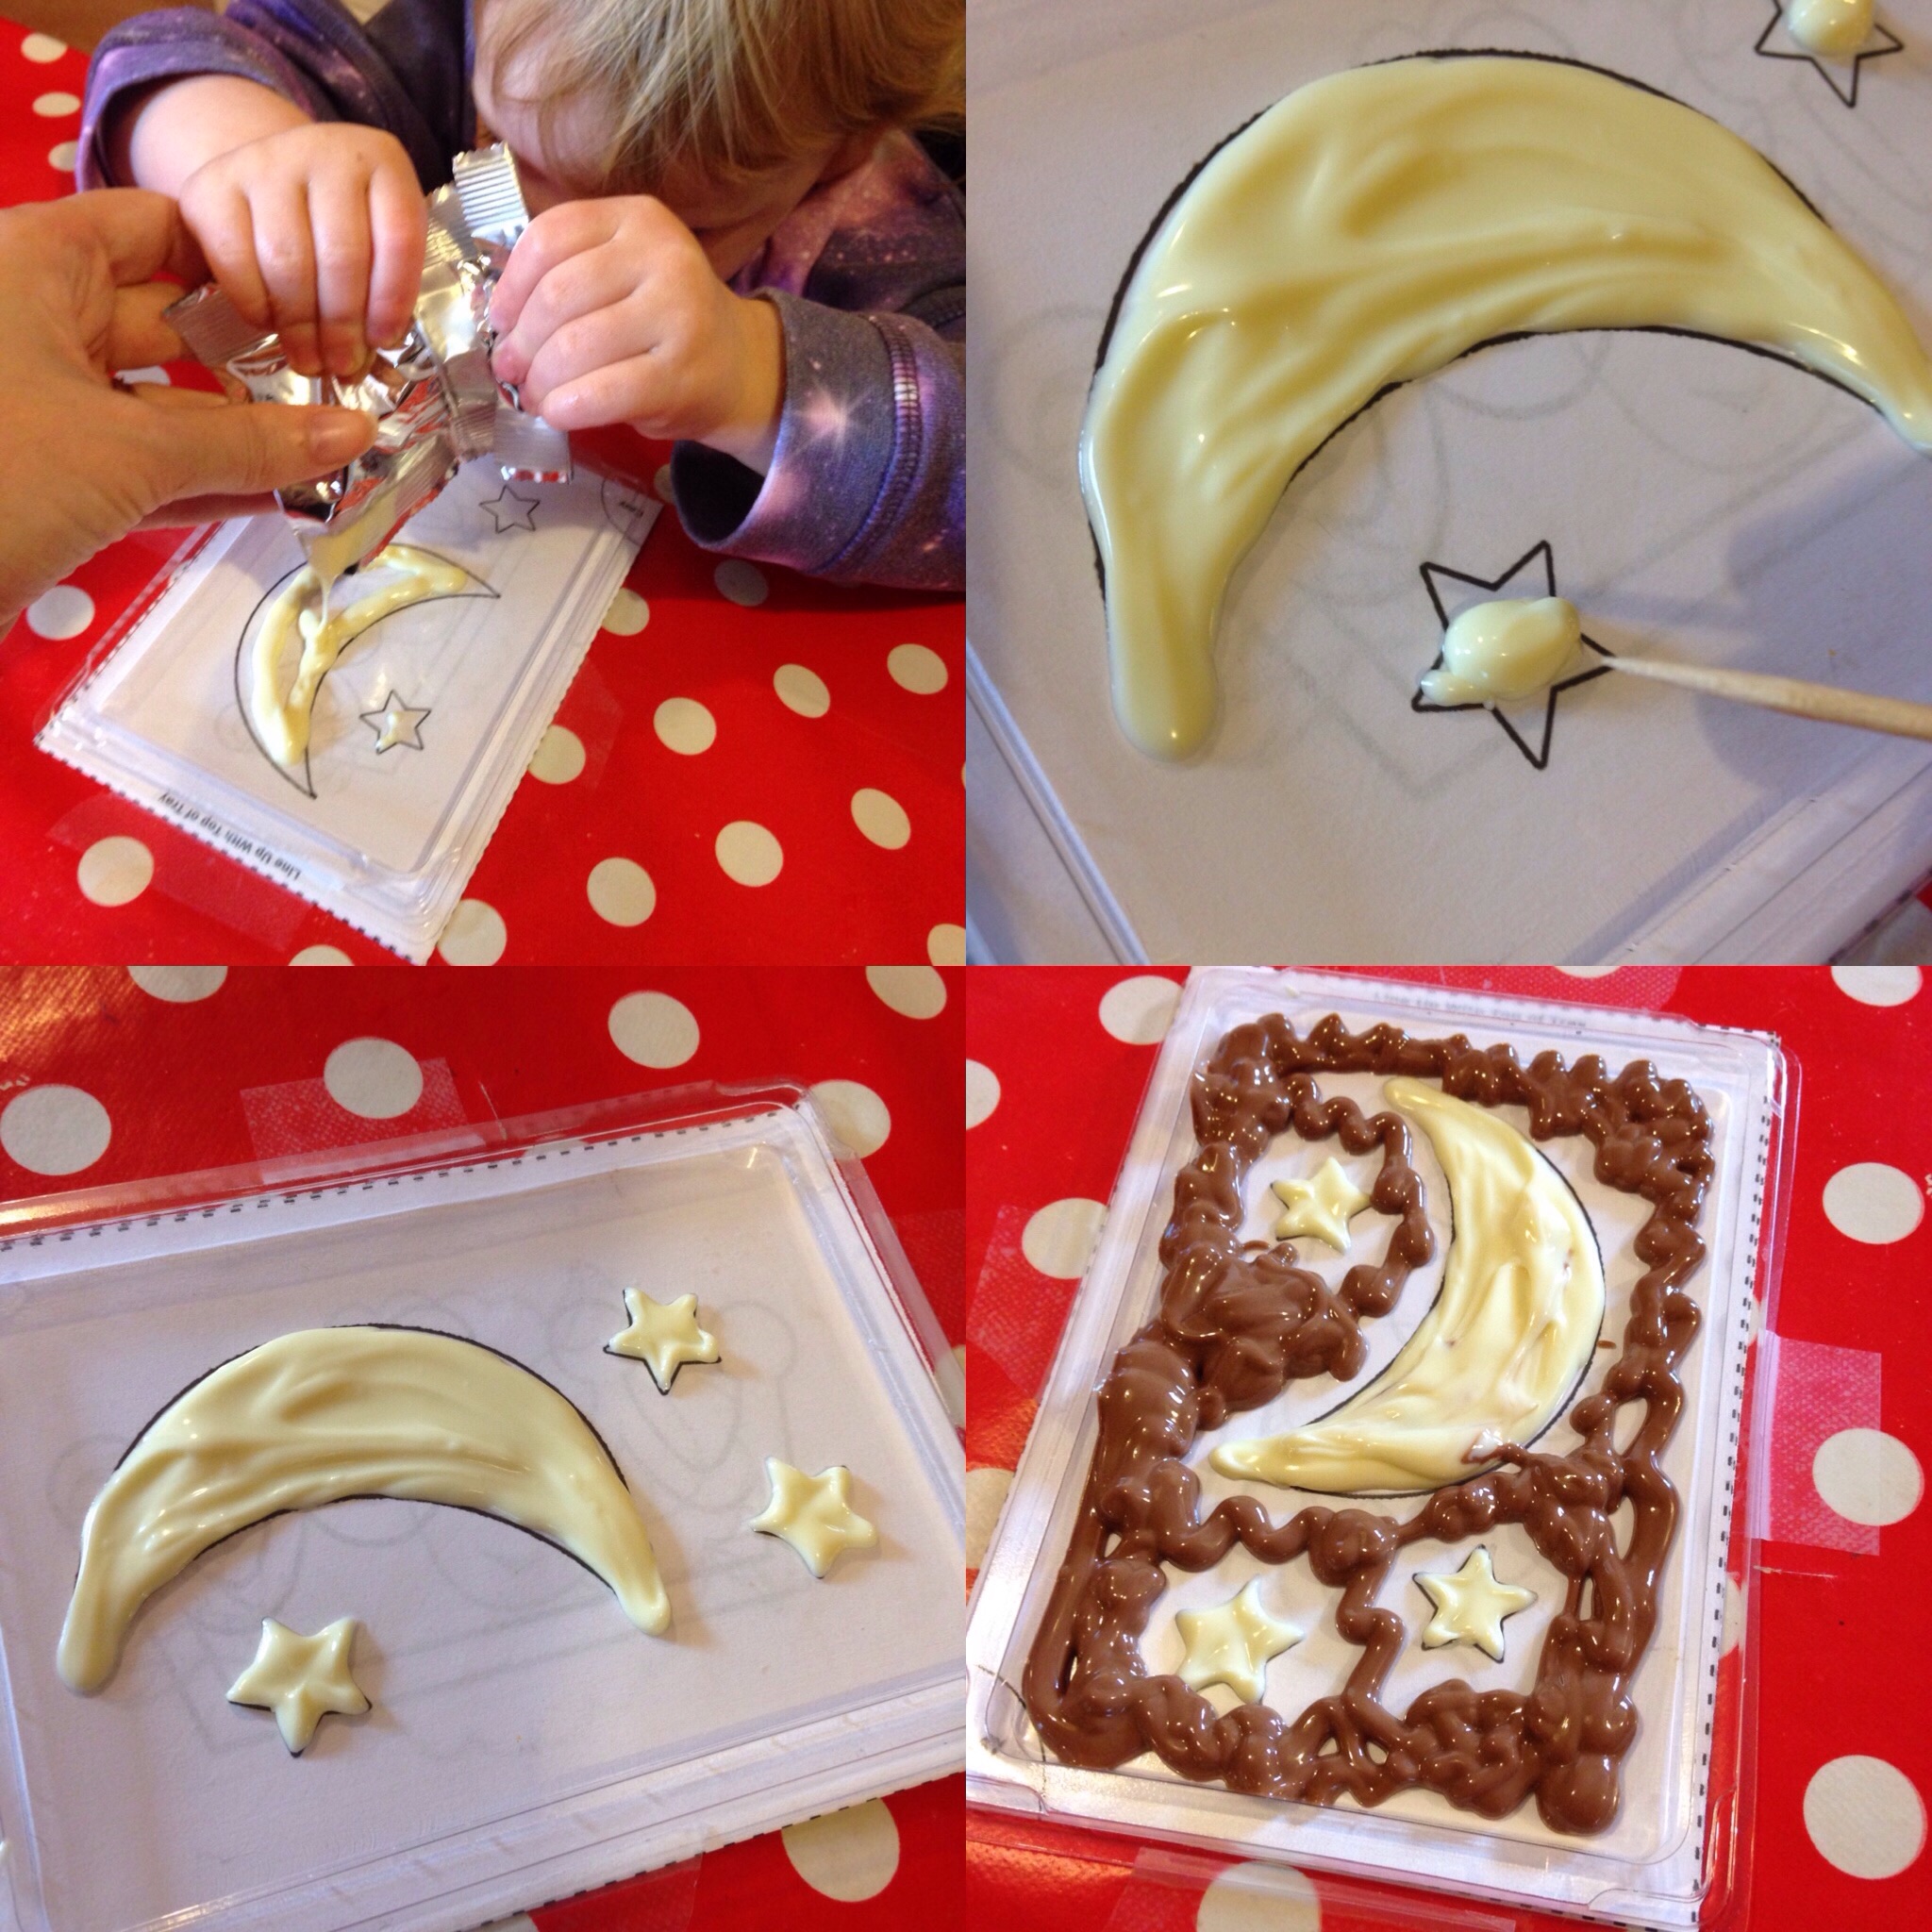 We spend ages drawing out the outline, scrubbing it out (licking it) and starting again. The stencil patterns come in easy, medium and hard. We chose the easy Stars and Moon stencil.
Step 3. We didn’t need to wait for the first layer of chocolate to set before we added the White Chocolate to fill in some of the stencil. This is where it got a bit messy and it was hard to get the lines to remain neat, so my mummy used a wooden toothpick to get all the angles right and to follow the line of the stencil. The white chocolate made up the moon and the stars on our design.
Step 4. We then added the milk chocolate to the tray and filled in the gaps, it didn’t matter it went over our design as it was going to be the back of the chocolate bar. After we were happy and smoothed it over with our fingers we laid the back of the clear tray on top, squashed it together.
Step 5. We then put it in the fridge to set. After 30 minutes it had gone hard so we took it out and swiftly consumed it.
We were actually really impressed with the final result and our first attempt. It looked good, even for a toddlers handiwork.
It didn’t last long as it tasted so good and it was very quick to melt.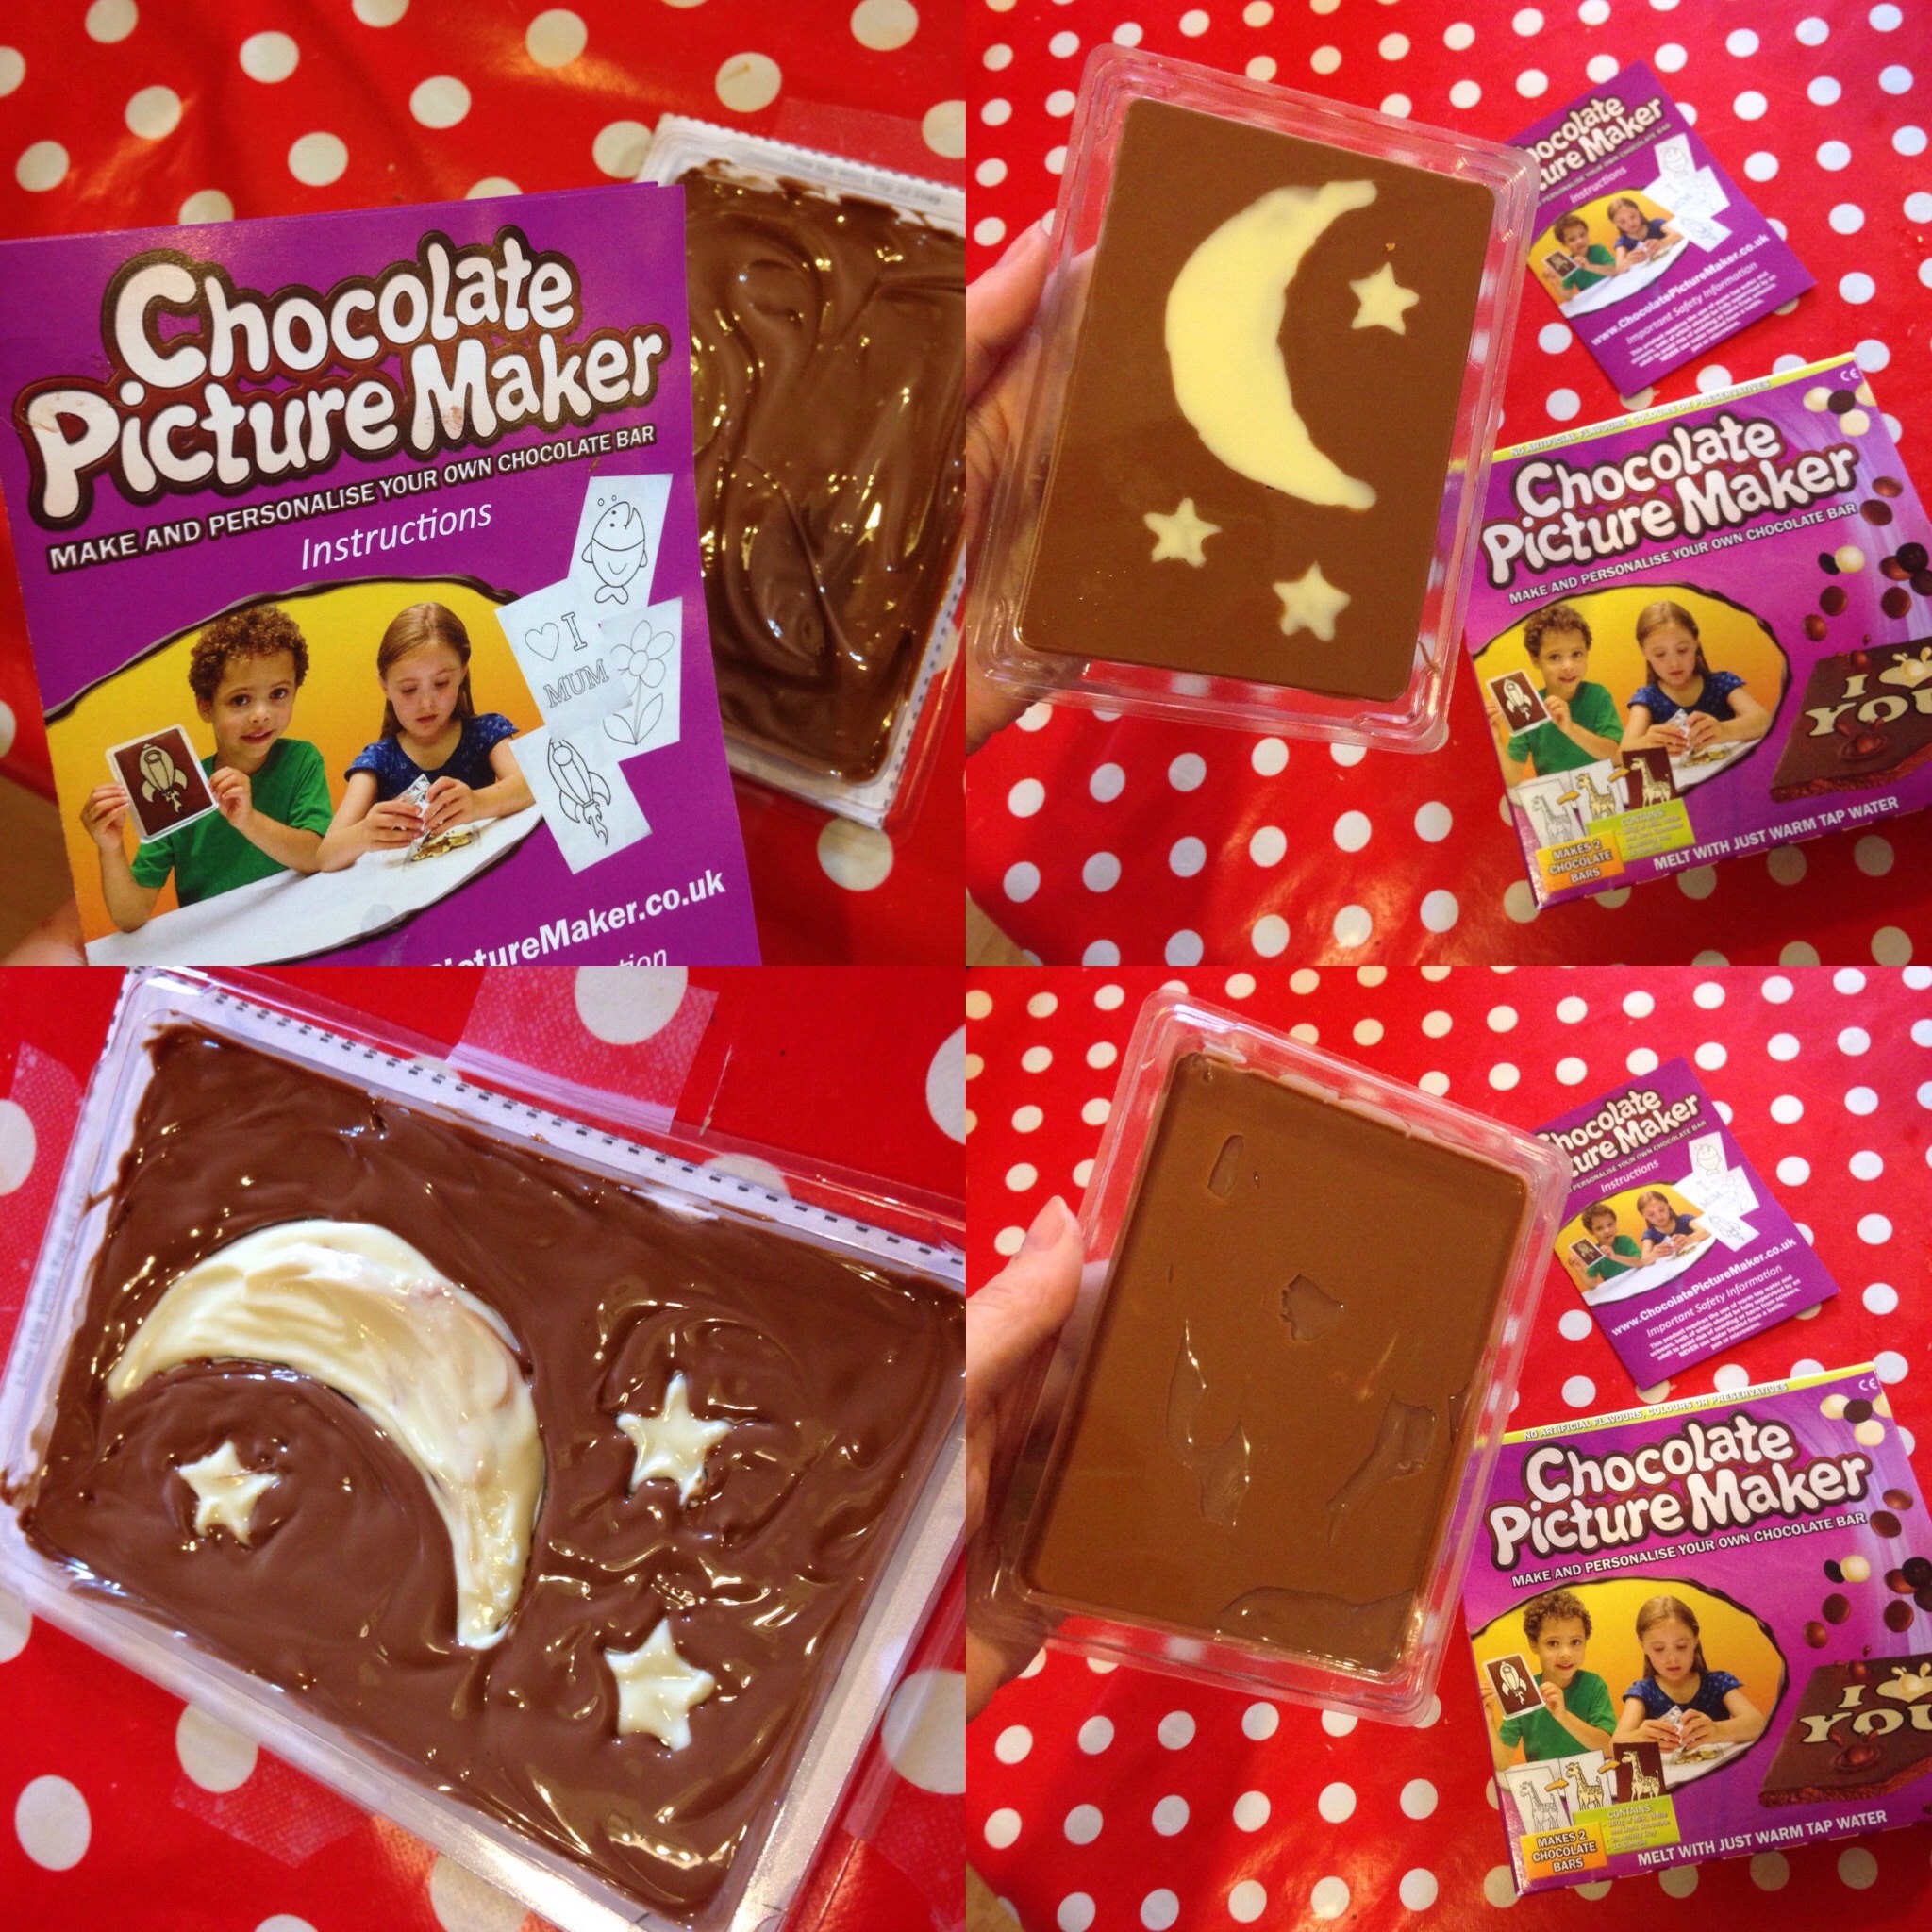 We loved that the chocolate was good quality and not cheap horrible chocolate. It tasted smooth and not bitter. The 100% Belgian chocolate that made up our chocolate bars was gluten free and suitable for vegetarians with no artificial colours, flavours or preservatives.
They could have done with adding a small plastic chocolate tool to add the detail (like a tooth pick) in order to tidy up the lines and make the designed more detailed. Another clear tray would have helped too, which would have allowed two children to make it at the same time. My mummy and I could have both made our chocolate bars at the same time. It was a really good activity to do with a small person and any mess that was made was minimal and swiftly eaten up.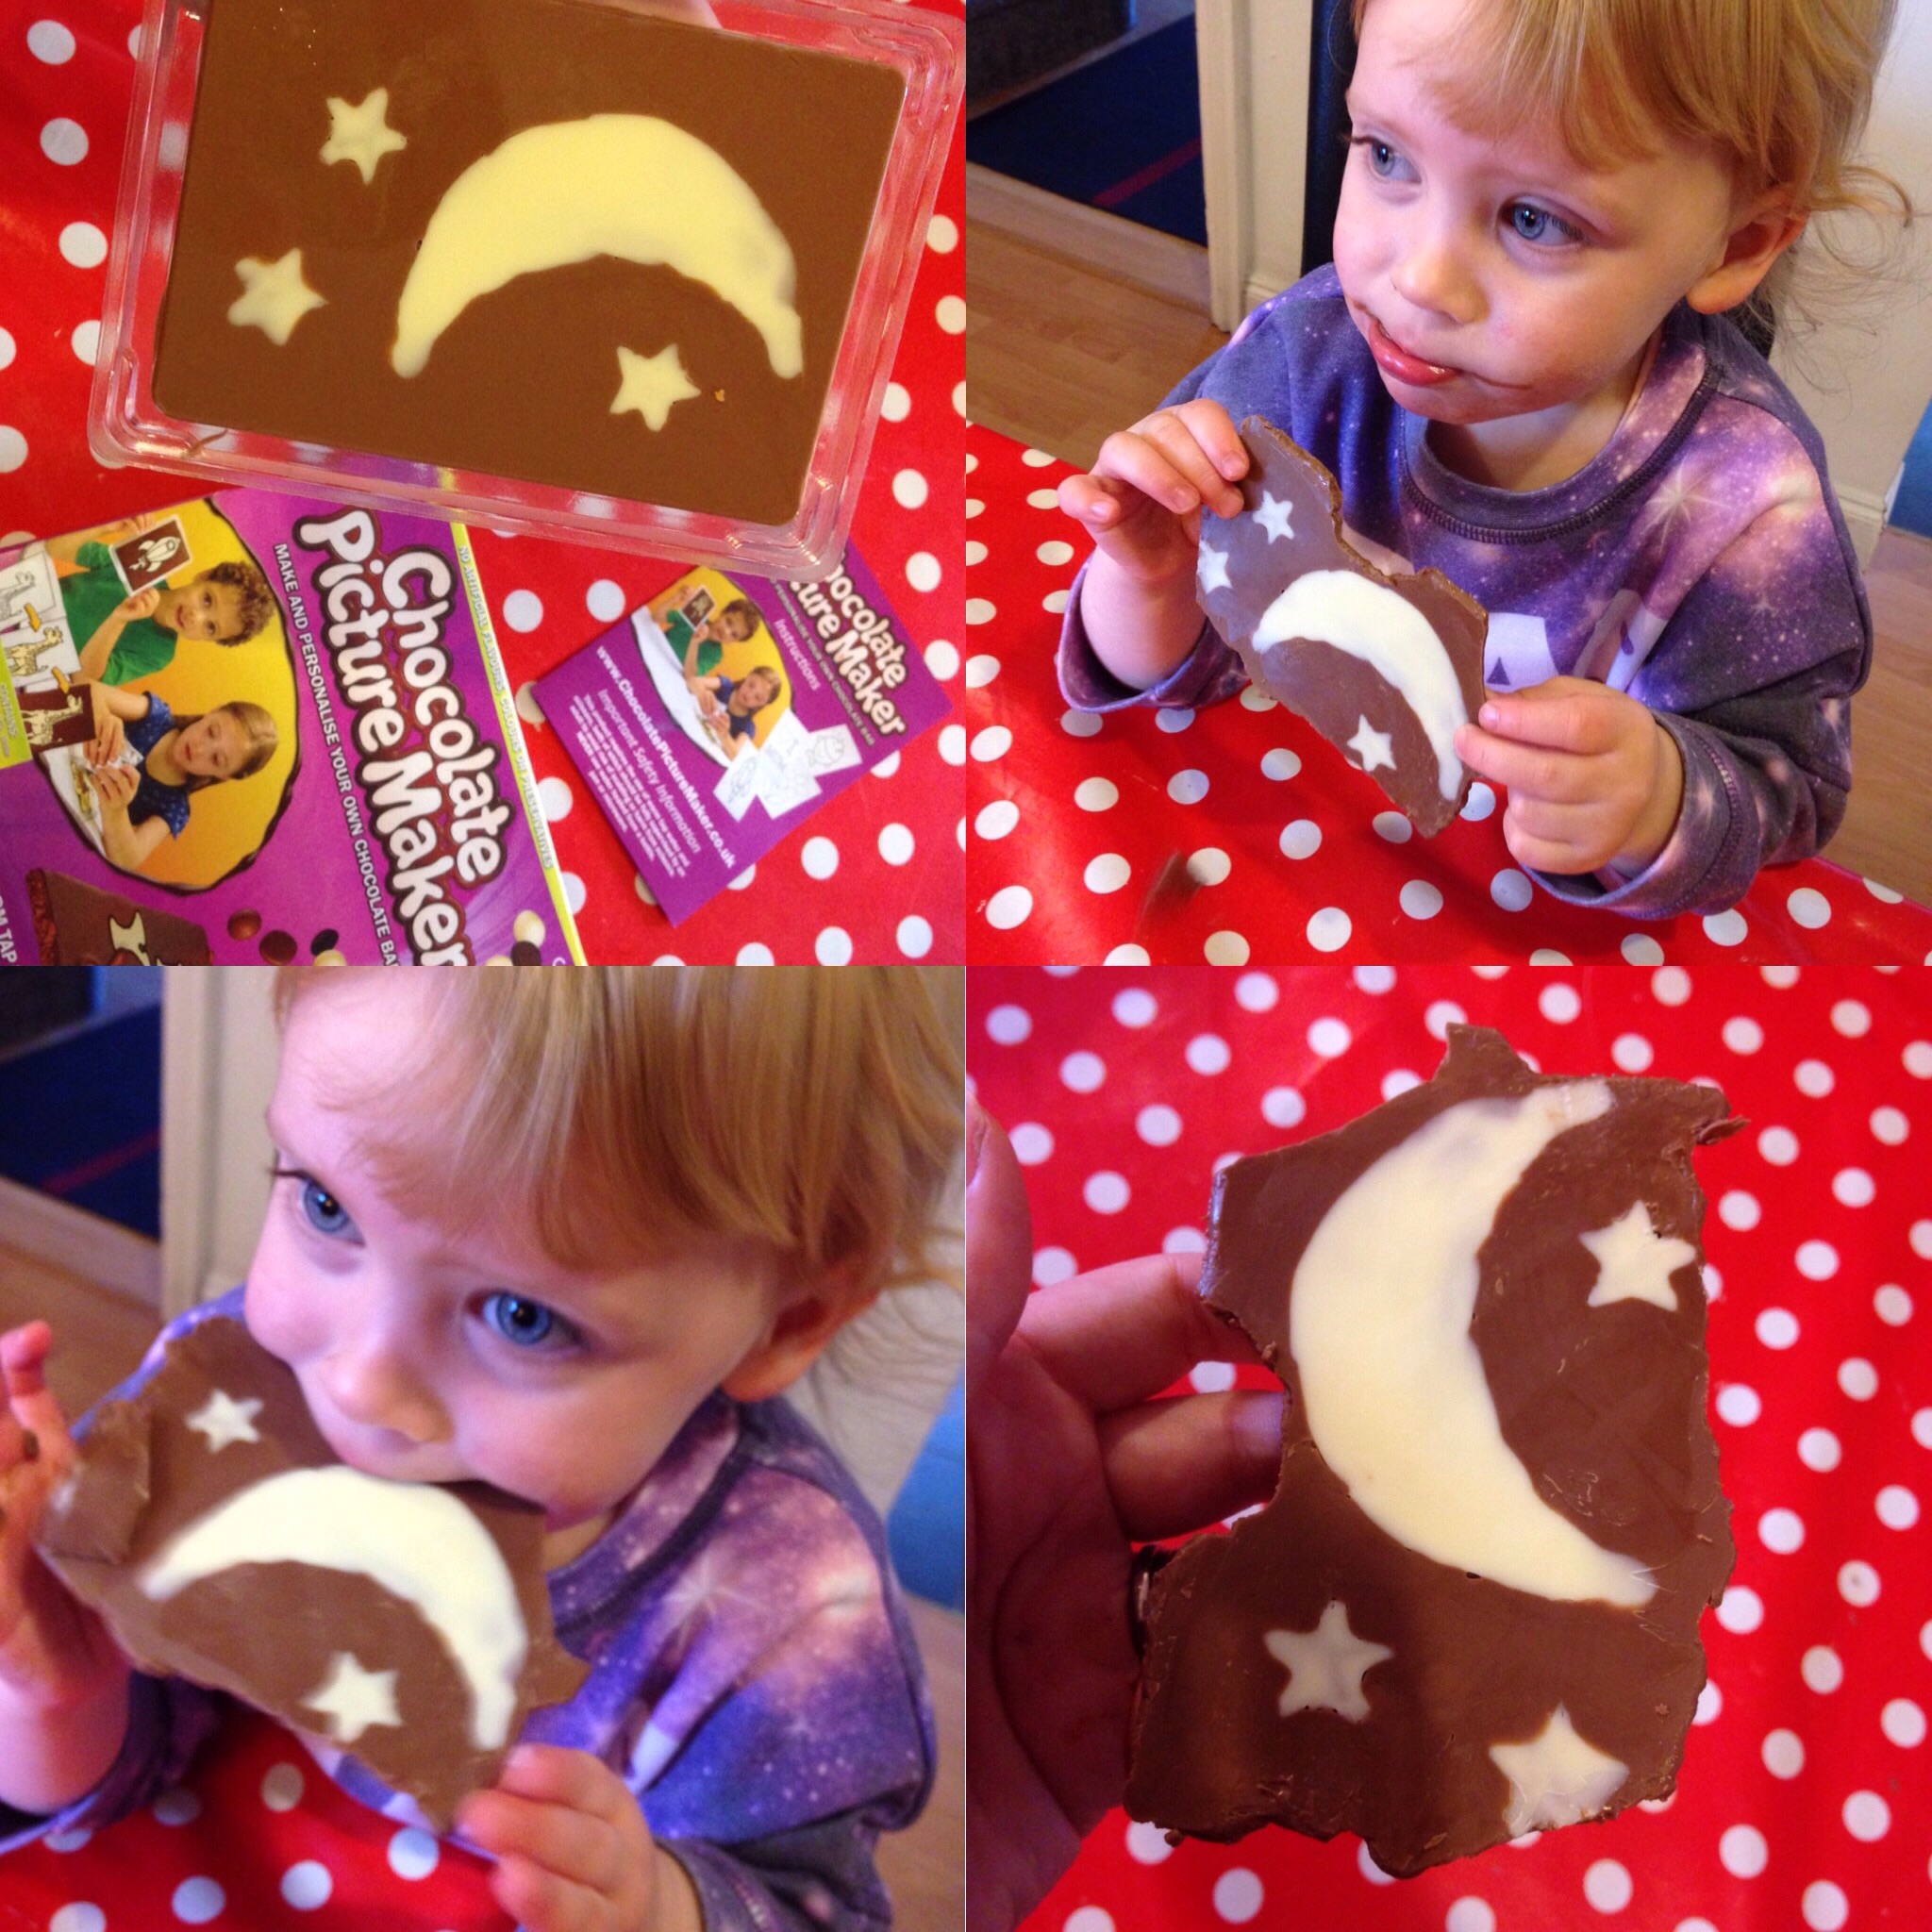 We would definitely recommend this as good gift to buy someone who loves chocolate! We’ve never made our own personalised chocolate bar before so this was a first for us and really good fun. My mummy is determined to make one for my daddy for his birthday which is coming up soon – he loves chocolate.
Love Bella x
Disclosure: We received the product in order to write an honest review.


My girls and I love things like this….It looks like you had a great time with it x
Oh how cool is this and it looks like you had a fantastic time making your own chocolate bar.xx
I bet this would make a great Easter present for little children or maybe a yummy craft for Christmas time if there are any Christmas themed stencils. Not sure whether I could get Tyger to do something like this quite yet (though, I’m sure he’d enjoy it if I didn’t worry too much about the aesthetics of the end result!). Great review.
#TwinklyTuesday
It’s a great activity because worse case…if it looks a bit of a mess, you just hide the evidence by eating it!! Lol 😉
I would love to give this a try, for sure my kids would definitely like making part and most of all the eating part… so as your little girl! #TriedTested
Thanks for popping over Cheryl, yes definitely worth a try 🙂
Found you via #TwinklyTuesday. I looked at these last christmas for presents but wasnt sure if they would be as good as they looked so I’m glad I found your review. They are now on the list for this year!
http://3dancingdandelions.blogspot.co.uk/
We were a bit dubious at first too but the chocolate tastes really nice and much cheaper to buy than a bar of Hotel Chocolate! 🙂
We reviewed a smaller set of this and I really liked it – easier for older children to do a design
I think if you have a steady hand it’s great, toddlers hands were a bit all over the place…that’s why we’re impressed with our little version! 🙂
Ooh we had one of these a while ago but a smaller version. It was really fun but Elliot just wanted to lick/eat/pick at the chocolate before it had set 😉 #twinklytuesday
That’s part of the fun, it would be good to do two at a time…. One to eat and pick at and one not to be touched!! 😉
I LOVE this! Definitely adding this to the Christmas list! #TriedTested
This looks fab, I think I’d like a go!! I’m not sure my son would be able to make it without eating it 1st though, hehe.
#triedtested
It was very yummy and quick to make, my mummy found it rewarding so imagine what an older child would feel like 🙂
this is a great idea for a gift! really fun for a rainy day too #triedtested
It’s a great activity for a raining day and you don’t need much to help you with it as nearly everything comes in the box! 🙂
What a great gift that would be, chocolate is always a winner. The finished design is great, much neater than I expected it to be. It looks like you enjoyed it.
Thanks for linking #LetKidsBeKids
It is much neater than we thought it would be too! That’s why we’re surprised. It was great fun to do with a child 🙂
This sounds fab… I need to give it a try- £5 seems very reasonable too!
It’s really good value especially for the quality of the chocolate. You can buy bigger packs too off Amazon which would be fab for Christmas, that’s what we’re king to do 🙂
Wow that looks like fun and yummy! Great review, thanks for sharing! #letkidsbekids
Oh yum that looks delicious, what a good idea and a lovely treat after some crafting, perfect!
Ooo how fab! I might buy this for myself but not for Zach mwahahaha! Fab review 🙂 Thanks so much for linking up with #TwinklyTuesday
It looks like great fun! Craft you can eat!
Thanks for sharing your review on #TriedTested this week x
This look like fun, and tasty too! The finished bar looks really good 🙂 #letkidsbekids
I used to love things like this when I was younger. Something to keep in mind for when my little one is a touch older!
#TriedTested
This would be a good Christmas stocking filler! Thanks for linking up with #TriedTested
Looks like a great personalised gift!
My daughter has this on her birthday wish list, looks a little tricky to get a good outline but fun at the same time #TriedTested