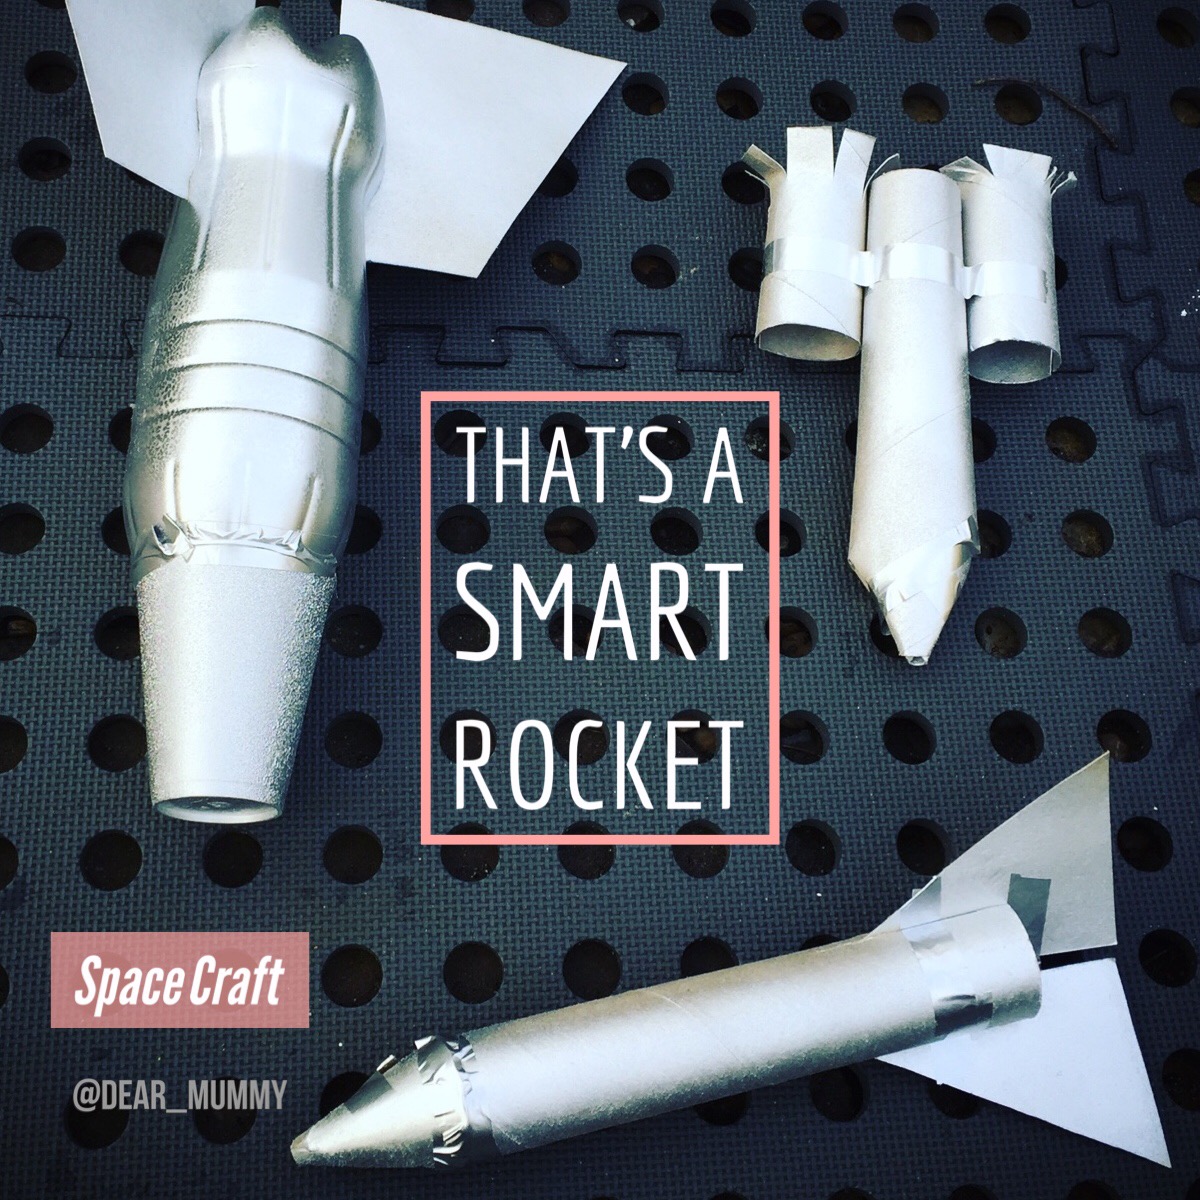
That’s a smart rocket….where are you off to? The moon replied baby bear.
Dear mummy, I went on my first flying lesson the other day and it was out of this world! We made some space rockets and it was easy peasy! We had such a fun time making them. Would you like to make a rocket too?
How to make a space rocket out of recycled bits and pieces.
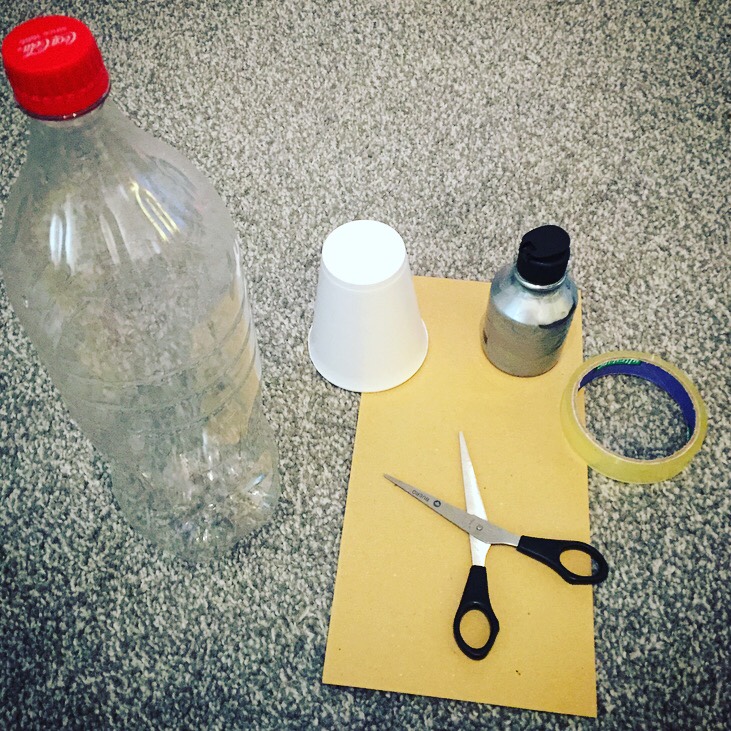
This is what you will need:
1) Cardboard tubes for the rocket body (kitchen roll, toilet rolls or longer tinfoil tubes)
2) Cardboard boxes for the wings
3) Plastic 1 litre bottle or larger for the rocket body (we used a coke bottle)
4) Polystyrene cups for the cockpit
5) Sellotape
6) Scissors
7) Silver spray paint (adults will help with this)
8) Poster paints (Silver, red and blue)
9) Metallic foil paper
10) Glitter
11) PVA glue
12) Pipe cleaners
What we did:
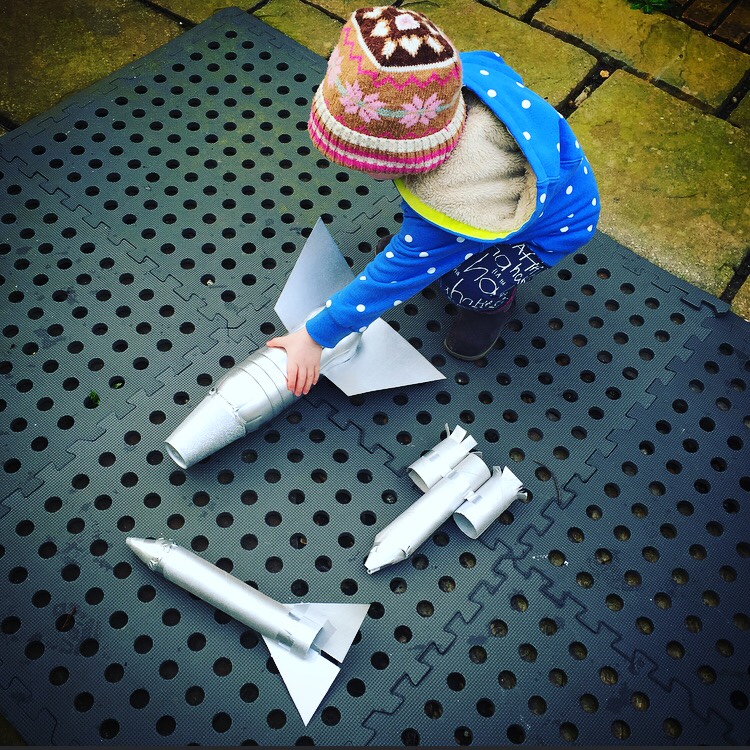
First we collected all the materials together and separated the tubes into different sizes. This is a great exercise for little ones. My folks collected loads of cardboard tubes from the recycling bin.
We picked out a large plastic bottle (my daddy has just finished drinking the Coke out of it!) My mummy helped me cut out some cardboard triangles for wings and slits into the sides of the plastic bottle to house them.
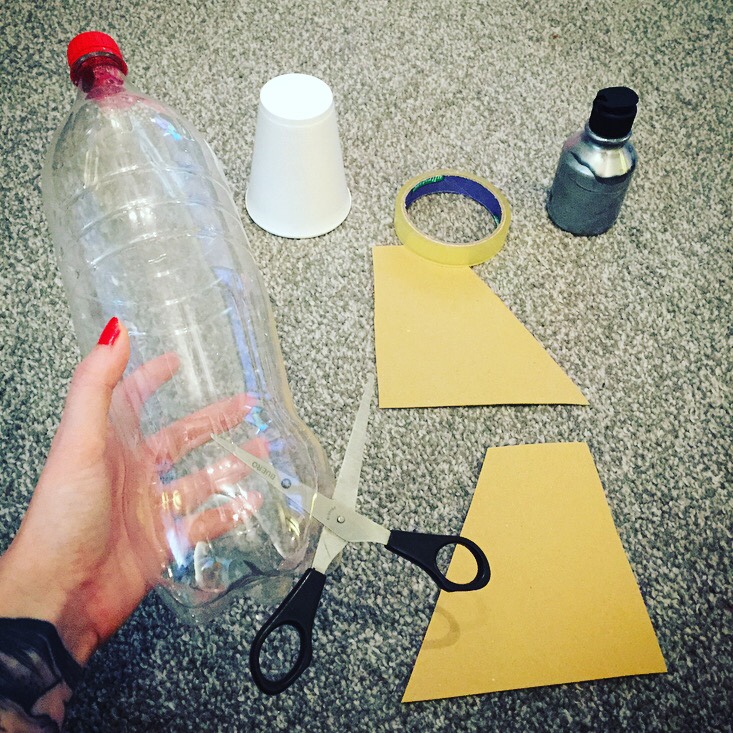
We didn’t need to secured them with sellotape as the plastic bottle secured them tightly as we wedged the cardboard wing in.

We found a polystyrene cup and used it for a cockpit. I helped secure it to the plastic bottle with some sellotape. The first part of our rocket was finished.
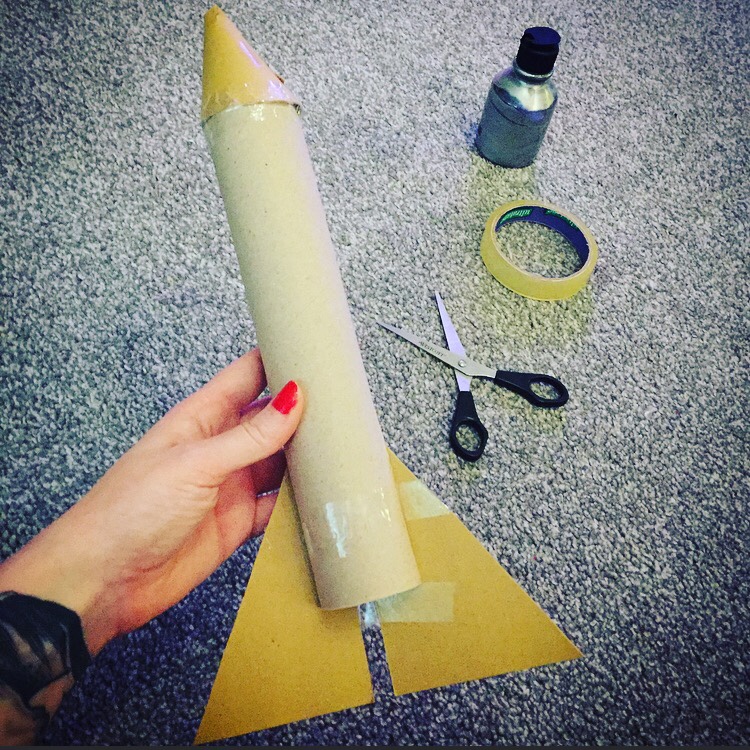
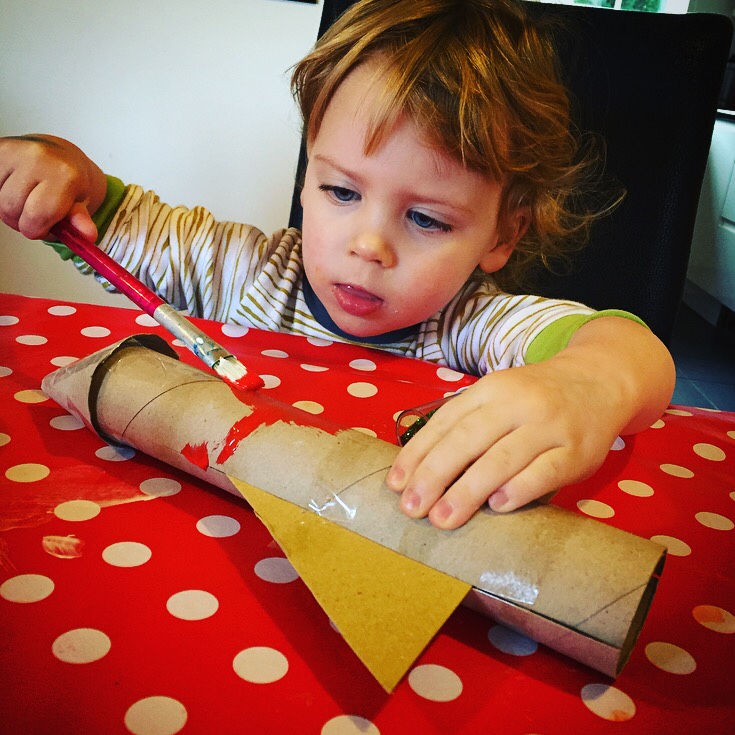
We also made a simpler style rocket just out of cardboard and used sellotape to secure the wings and cockpit. The cockpit was a flat piece of card rolled into a coneshape which was a bit tricky so my mummy gave me a hand with that.

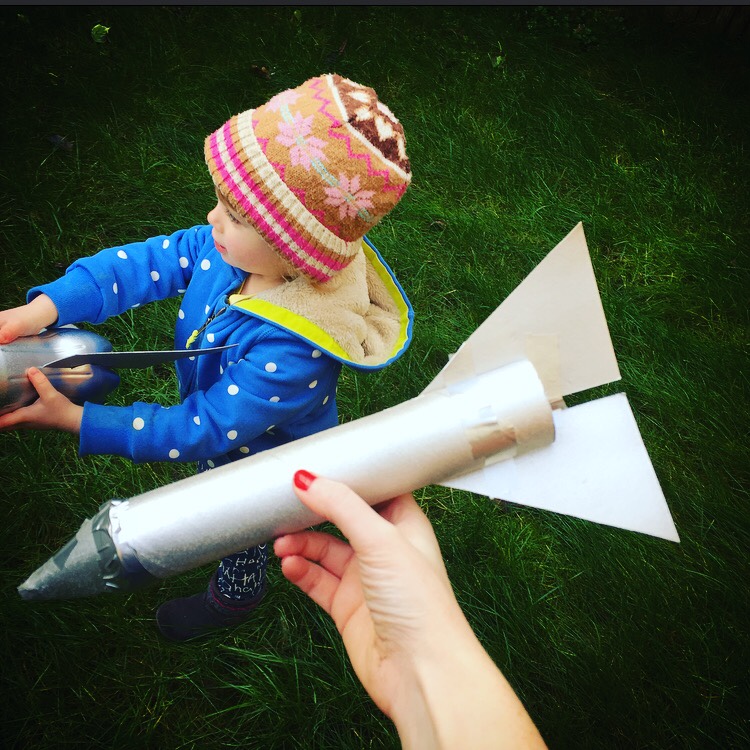
My mummy took it outside and spray painted it silver. It didn’t take long and we were back inside embellishing our rockets with paint and glitter.

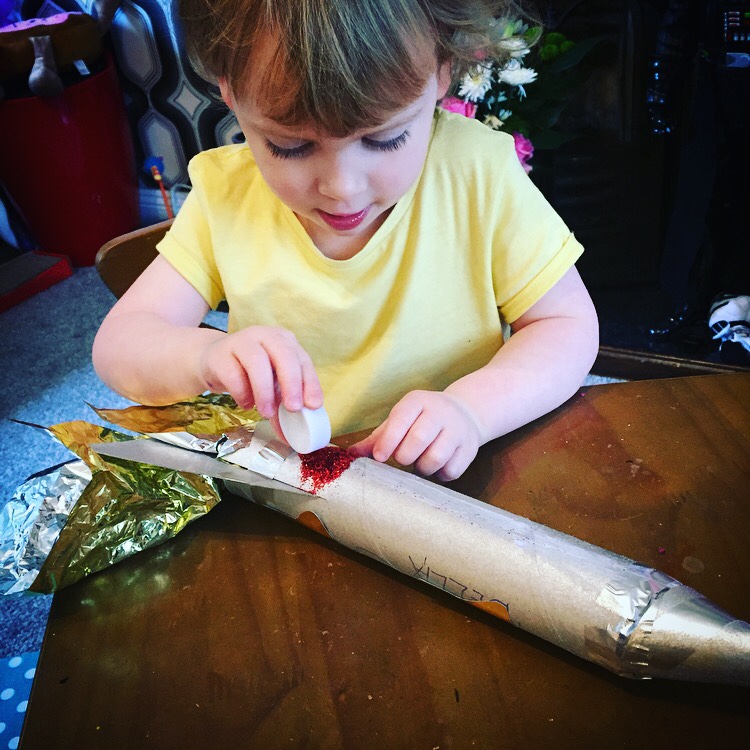
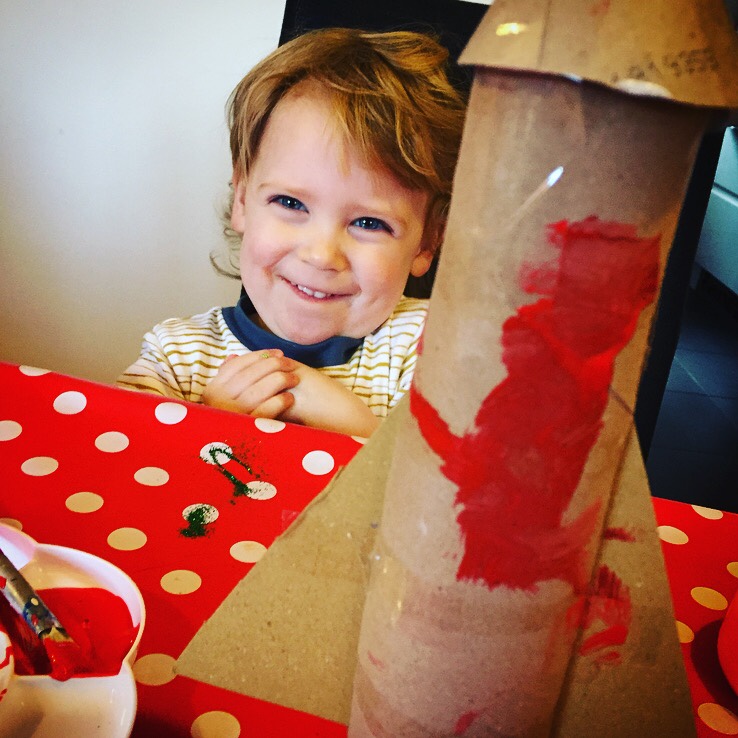
My mummy painted a Union Jack on her rocket wings and red ‘go faster’ stripes. I decided to scribble pen and add red clumps of glitter to mine using my creative freedom 😉 Mummy also helped me to cut out gold stars which I stuck to my rocket using PVA glue.

We scrunched up gold metallic foil paper and stuffed it up the cardboard tube to create the illusion of flames. I helped twirl red and gold pipe cleaners around my fingers to create spirals to add to the rocket jet stream!
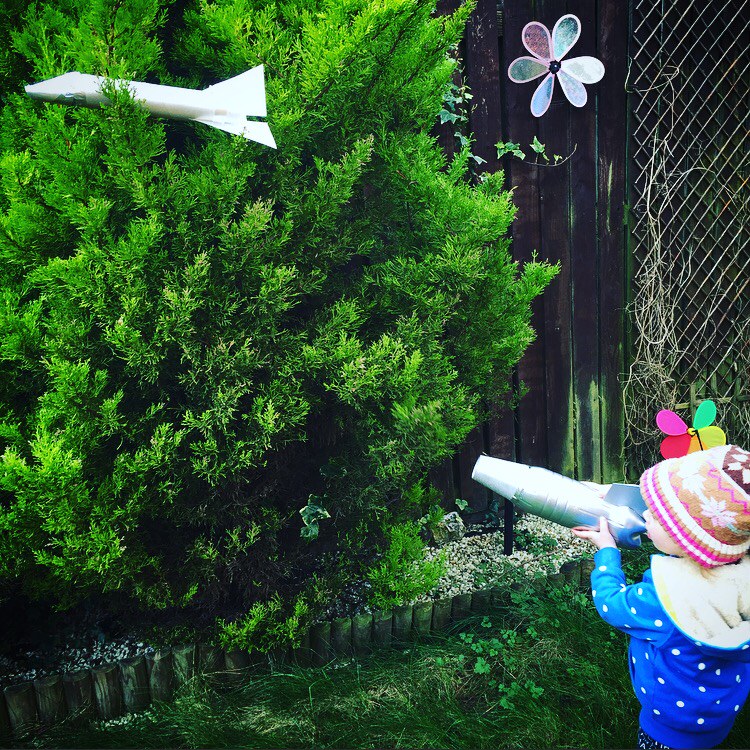
Now was the fun part, to play with them all. We ventured outside and our rockets soared through the sky! First we tested the plain versions and they were super speedy. One even got stuck in a hedge!
We had made so many rockets that I continued to decorate them for the rest of the afternoon, I now have a fine fleet of Starships!
A really easy craft to do with children which leads to hours of roll-playing fun. We can’t wait to take them to Camp Bestival (it’s space themed in 2016) and hang them around our campsite!
Love Bella (Space Baby) x

![]()


These look brilliant! I am definitely going to be making some of these, thank you so much for the inspiration! #TwinklyTuesday
These are really great!!! my kids would love to make one of these. I have pinned this on pinterest. #LetKidsbeKids
Ahhh thanks! 🙂
How clever and arty! These look fab and you both look like you had such fun! Who enjoyed it more? You or Mummy? Xx #twinklytuesday
….I think my mummy! 😉
Amazing! My little boy has recently become a bit obsessed with rockets so we’ll definitely be making these. Thanks for sharing xx #TwinklyTuesday
That’s so COOL! Brings back my days of watching Blue Peter – you definitely deserve a badge for this post! #TwinklyTuesday
….might send it in the Blue Peter 😉
Impressive rockets! I love the idea of spray painting them!
That is one super looking rocket. Love that silver paint, makes it look very authentic x
The silver paint is awesome…want to spray everything!!
Oh wow, I love your rockets, they really are fantastic! And you looks so pleased with them too and happy playing with them.
Thanks for sharing with #LetKidsBeKids
Thanks Karen, it was great fun:)
Wow they are some seriously awesome rockets! I did that with Monkey a while ago but mine was a lot less planned and so nowhere near as good. He still loved it though, great fun 🙂 xx
Ah thanks! Yes we’d been collecting rocket fuel for days… 😉
oh wow I have never thought of letting them loose with spray paint but what a fab idea and I know the younger kids will definitely love to make one so there’s an idea for this weekend
Ah wow. Toilet rolls and imagination. Oh to be that age again. Wonderful pics 🙂
Oh wow this is awesome, I wish I was as clever to create such a smart rocket
Now what a clever idea and what a clever mummy! It beats making paper aeroplanes any day this x
I am never this organised. I need to raise the bar!
…neither are we usually but I’ve wanted to make a rocket for a long time and fly to the moon 😉
What a lovely craft for kids to make. We will be having a go at this in our house
What a fantastic idea I love the shiny rocket. I bet that would be so much fun to make and then you can imagine flying to the moon too!
How fun and cute are those?! Just love them!
This sounds like a lot of fun, especially the flying them part! They turned out really cool, love the silver spray paint effect 🙂 #TwinklyTuesday
Debbie
These look so awesome! My little boy would love to make these x
Funnily enough, Eliza came home with a rocket she had made today – not as good as yours though
It’s all the fashion! Rockets R Us! I bet Eliza’s was brill x
The best thing with kids is their imagination, If we buy something big my boys love nothing more than playing making dens and trains out of the big box lol x
Bella you are so clever – I love your rockets and am definitely going to ask Mummy if we can make some. Great job! Ickle Pickle x
Thanks Ickle Pickle x
Oh this is brilliant and what a wonderful looking rocket you have created. I love the step by step guide, it is one we might just try here in our activity hour on the farm, I’m sure the little ones would love this and we could test them in the fields after! Please do join me for Trash 2 Treasure, my monthly upcycling linky, March is up a week Monday, I’ll give you a little reminder, this would be perfect. Popping by from #bloggerclubuk
Thanks! We’d love a reminder 🙂
A great craft idea! And the silver spray paint looks fantastic 😀 #bloggerclubuk
Oh wow these turned out amazing! The silver paint really made them professional looking! This kind of craft is right up our ally. We love creating with things from the recycling box. Thanks so much for sharing with blogger club uk x
I love it! My son loves Little Einstein’s and would love it if I made him these!